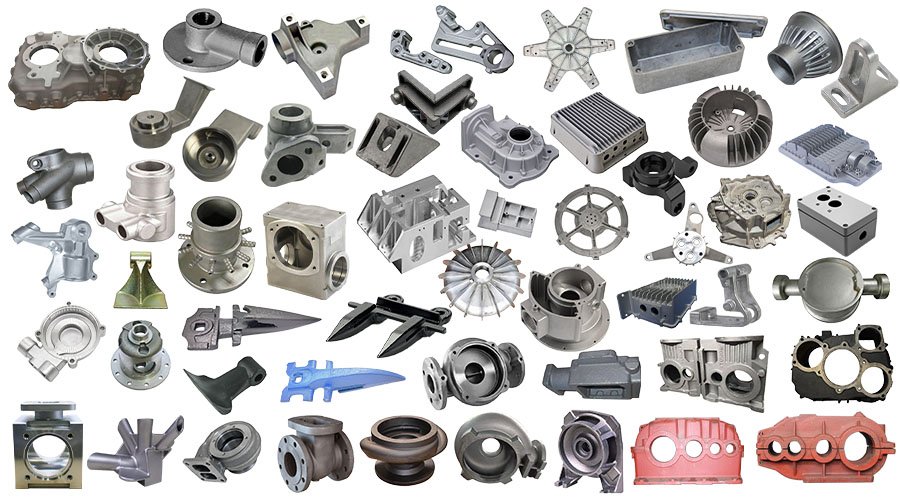
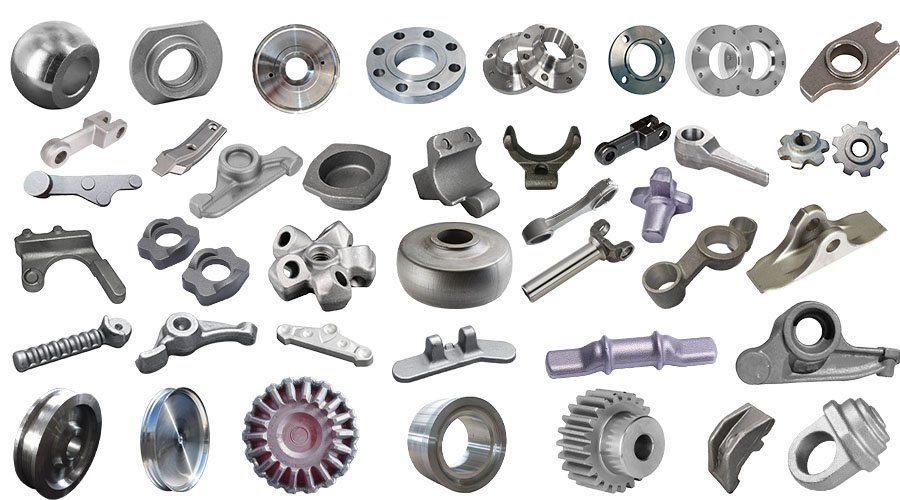
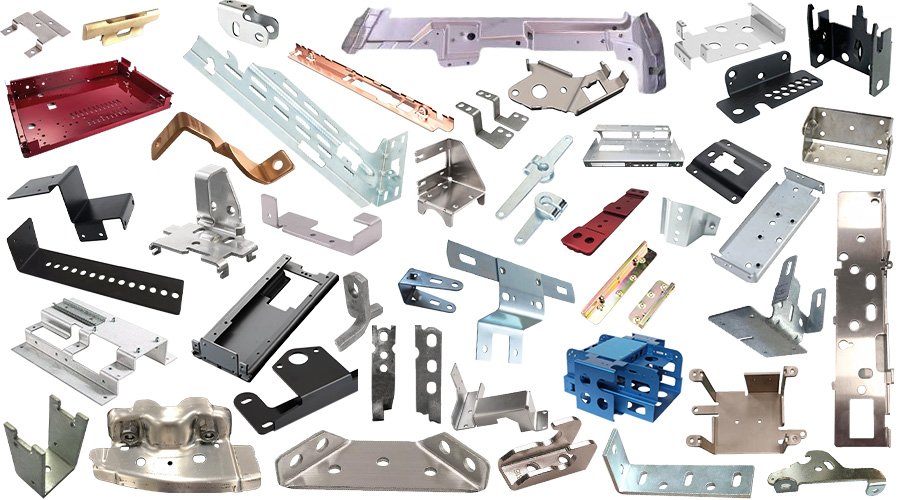
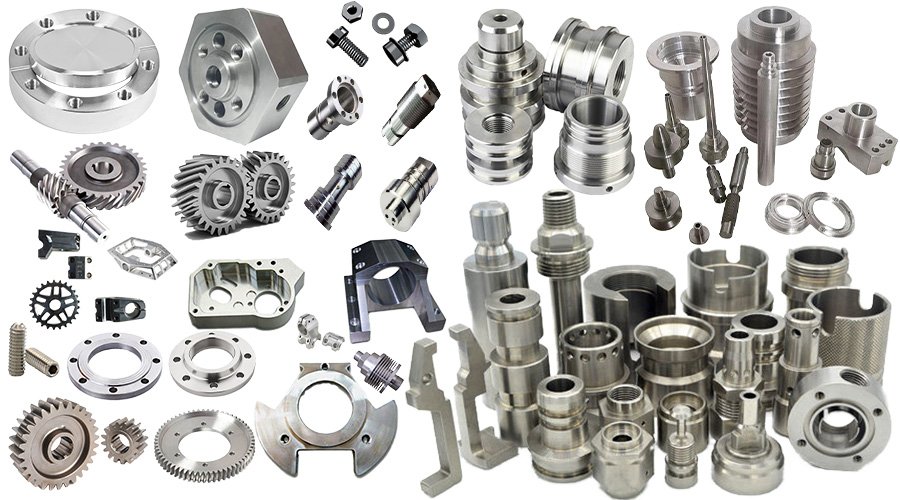
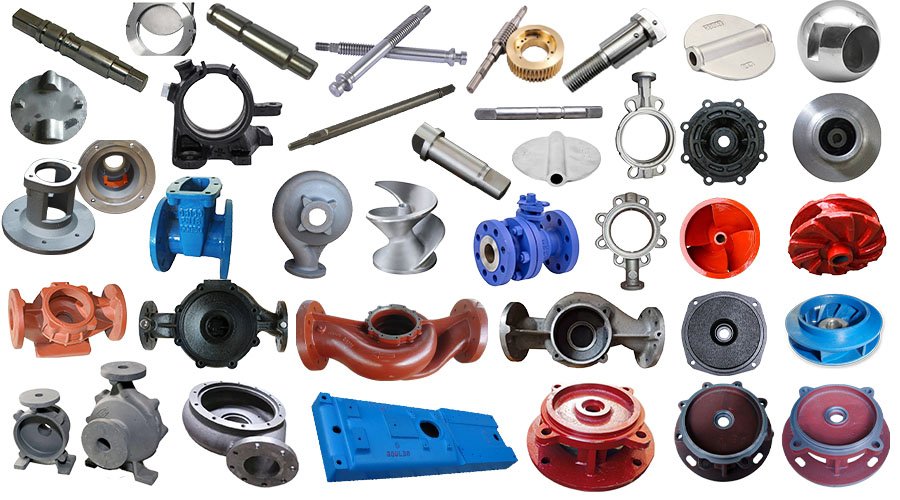
We verify critical dimensions such as bore diameter, face flatness, bolt hole position, thickness, and outer diameter using CMMs, optical comparators, and precision gauges. We regularly maintain and document tolerances as small as ±0.02 mm for each part or batch to make sure they fit well with other parts in your piping system.

 EN
EN RU
RU ES
ES


